So, guess what happened to me recently? A little slip and slide action on a wet paver that left me feeling like I aged a century overnight. Yep, traumatic injuries are no joke which you’ll see as I let you in on my recent escapade.
It was a gloomy January day, the North Coast living up to its rainy season reputation. I was just strolling up to a friend’s front door when, out of nowhere, whoop! Down I went on a wet paver. My right leg did some acrobatics, and I ended up on the ground thinking, “Uh-oh, this can’t be good.”
I took a moment to assess the situation, tried not to panic, and with the superhero assistance of my husband Steve, managed to get back on my feet. But let me tell you, something was definitely off. Walking was a challenge, standing was worse, and sitting felt like a one-way ticket to misery!
Fast forward to the car saga – As I left to come home, I couldn’t even press the gas pedal of my car without extreme pain. Long story short, Steve had to be my chauffeur back home and for the next few days. The struggle was real; survival mode had been engaged.
I did the classic routine – ice, doctor’s call, and the trusty combo of ibuprofen and heat. My doctor advised me to alternate between ice and heat in the initial 24 hours, then focus on heat to kickstart the healing. Heat promotes blood flow and without good circulation the healing process will slow down.
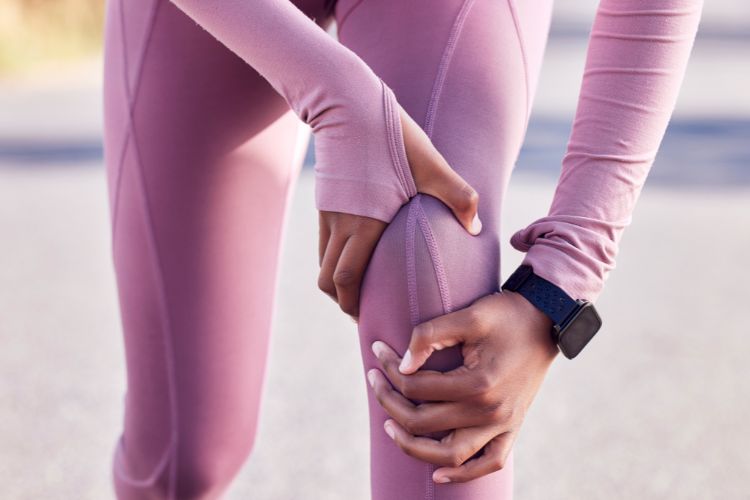
Now, here’s where the plot thickens. Days passed, and it wasn’t just the initial injury of a pulled hamstring and sore wrists from bracing myself when I hit the ground that were giving me grief. Oh no, as a result of me hobbling around putting most of my weight on my uninjured leg, my back decided to rebel with muscle spasms, my left knee protested, and my poor posture triggered a domino effect on my quadriceps and hip flexors. Believe me when I tell you, I was a mess!
I had to come up with a recovery plan, and fast! So today, I’m sharing the stages of healing and the lifesaving tips that got me back to feeling somewhat normal again. Are you ready? Let’s do this!
Stage 1 – Rest and Relief:
After the initial evaluation and necessary medical attention, the first order of business is finding relief. Whether it’s ice to combat swelling or soothing heat, the key is alternating between the two for around 15 to 20 minutes each. Ice helps curb swelling, but we also want that blood flow, so don’t forget to bring in the heat. Find a comfy position, maybe lie down with the affected area elevated, and if the pain is intense, a little help from a pain reliever might be just what the doctor ordered. Remember, it’s okay to take it easy during this stage – grace and time are your best friends.
Stage 2 – Movement and Mobility:
Now, we’re getting the body moving without risking further harm. If putting weight on those legs is a challenge, try a recumbent bicycle – a stationary bike that lets you pedal away without gravity’s interference. Gradually transition to short, slow walks and incorporate gentle stretches. Soon enough, you’ll notice the stiffness and pain taking a back seat
Stage 3 – Supported Self-Care:
Enter the supporting cast! In this stage, it’s all about seeking help from caregivers, chiropractors, and massage therapists. I visited my chiropractor pronto to keep my back in ship shape and maintained weekly appointments as I knew that there was a good chance that my limited movement would affect my spine. Even when my leg was so severely bruised that it looked like I’d been hit by a Mack truck, my massage therapist worked wonders with Arnica cream, easing the pain and fast-tracking the healing. Massage helped to get the blood moving from the bruised areas giving me relief and aiding in recovery. And don’t forget the healing wonders of a hot tub or sauna, or a soothing bath with Epsom salts. Hydro therapy is a lifesaver to improve mobility and soothe achy joints and muscles.
Stage 4 – Rebuilding Strength & Flexibility:
Now that the immediate storm has passed, it’s time to rebuild. This is where I am now. My focus has moved to strengthening my legs without going too heavy and regaining my flexibility. I have opted for two-legged squats instead of the one-legged lunges (ouch!). I gently stretch after each session and have incorporated some beginner yoga positions to help with flexibility. And, let’s not forget the core – it’s our secret weapon to reclaiming posture and back strength. Lucky for me, my 28-day workout plan, that I crafted during the lockdown in 2020, came in handy. No equipment needed, just good old body resistance working wonders for my conditioning. It’s not just about rebuilding your body; it’s a mental pick-me-up too.
Stage 5 – Nutrient Boost and Supplements:
While I’ve listed this as Stage 5, it’s really a part of the healing process that will carry you through all the stages of healing. Specific foods are essential when it comes to recovery to help reduce inflammation and rebuild healthy tissue. Anti-inflammatory foods including omega 3 fats from wild-caught fish, cod liver oil, pumpkin seeds and walnuts to help reduce inflamed tissue. Fresh veggies and fruits that are loaded with anti-oxidants which help eliminate damaged cells and free radicals, aiding in repair and recovery. Collagen whether it’s in bone broth or as a supplement to support connective tissue. And let’s not forget hydration to activate the healing process. Get plenty of fluid in the form of water, warm teas or broths.
So, there you have it – a revamped recovery plan, Lacee style! Here’s to bouncing back stronger than ever.


